Baseboards are an essential part of interior design, providing both functionality and aesthetic appeal. Choosing the right size of brad nails for baseboards is crucial to ensure a secure and professional installation. However, with so many options available, selecting the appropriate nail size can be overwhelming. In this comprehensive guide, we will explore everything you need to know about using brad nails for baseboards, ensuring a flawless finish for your project.
Baseboards are often underestimated in their role in interior design, but they play a significant part in defining the overall look of a room. The quality of installation directly impacts the appearance and durability of these trim elements. Understanding the importance of selecting the correct brad nail size is the first step toward achieving a perfect result.
This guide aims to demystify the process of choosing brad nails for baseboards. By the end of this article, you will have a clear understanding of the factors to consider, the recommended sizes, and the best practices for installing baseboards with brad nails. Let's dive in!
Read also:Experience The Thrill Your Ultimate Guide To Live Philadelphia Casino Adventures
Table of Contents
- Understanding Brad Nails
- Choosing the Right Size for Baseboards
- Factors to Consider When Selecting Brad Nails
- Recommended Sizes of Brad Nails for Baseboards
- Installation Tips for Baseboards
- Common Mistakes to Avoid
- Troubleshooting Common Issues
- Comparison of Brad Nails vs. Finish Nails
- Tools Required for Baseboard Installation
- Frequently Asked Questions
Understanding Brad Nails
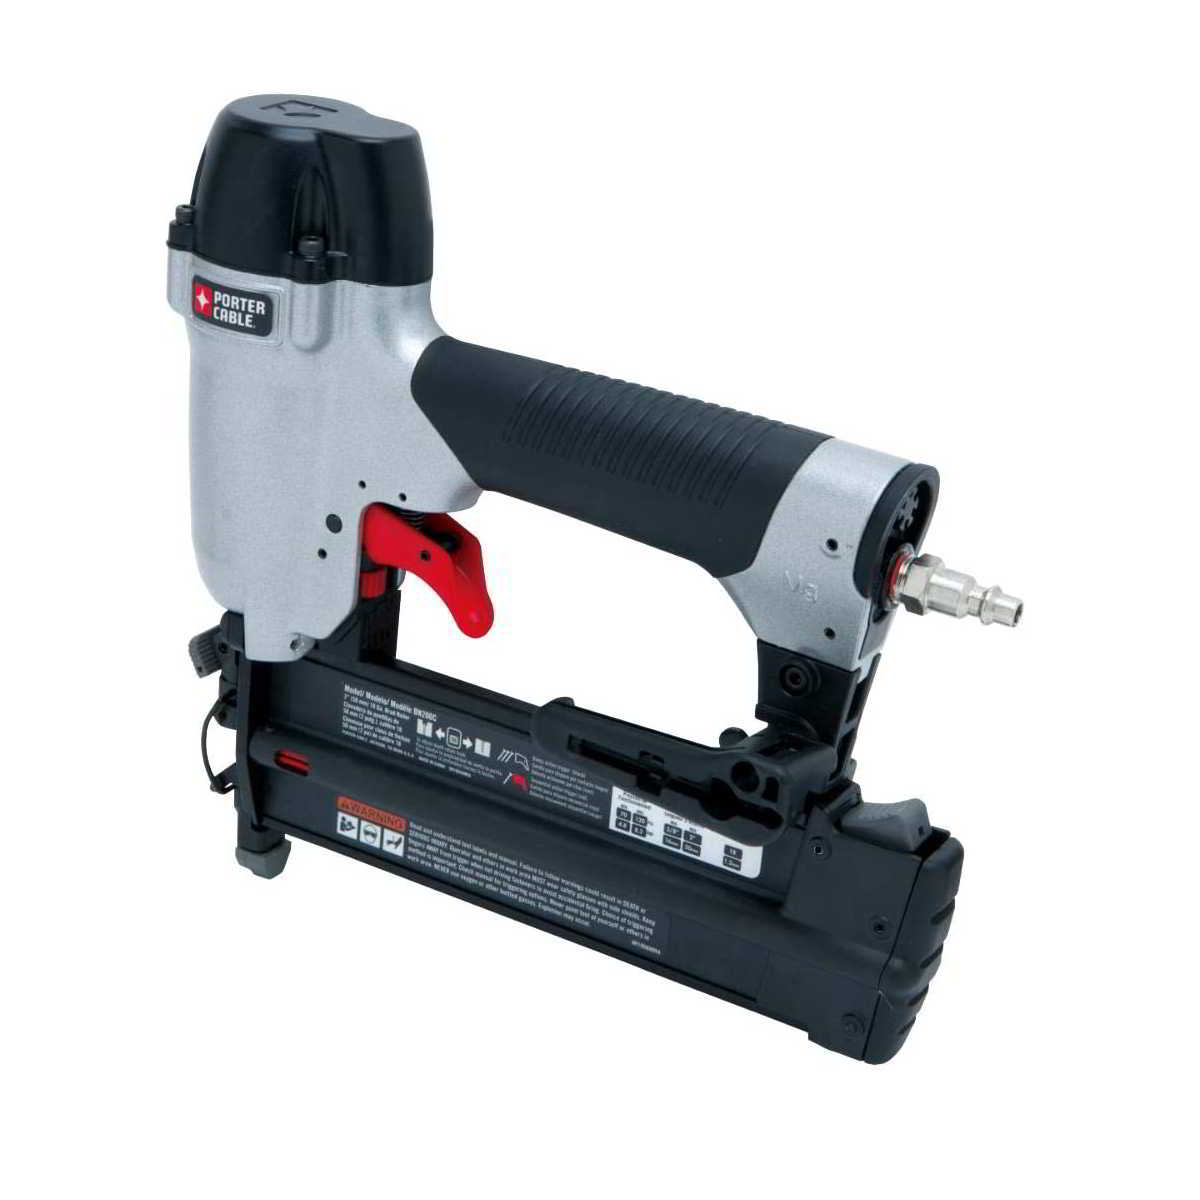
Brad nails are thin, lightweight nails designed for delicate woodworking tasks, such as installing trim, baseboards, and moldings. They are typically used with pneumatic nail guns, making the installation process faster and more efficient. The small size of brad nails ensures minimal surface damage, allowing for a clean and professional finish.
What Makes Brad Nails Ideal for Baseboards?
Brad nails are favored by professionals and DIY enthusiasts alike due to their precision and versatility. Below are some key features that make them perfect for baseboard installation:
- Thin Diameter: The slim profile of brad nails reduces the risk of splitting delicate wood.
- Lightweight: Their lightweight nature makes them ideal for holding lightweight materials securely.
- Headless Design: Most brad nails have a small or no head, allowing them to sink flush into the wood without requiring additional finishing work.
- Range of Sizes: Available in various lengths, brad nails can accommodate different materials and project requirements.
Choosing the Right Size for Baseboards
Selecting the correct size of brad nails for baseboards is critical to ensure a secure hold without damaging the material. The size of the nails depends on the thickness of the baseboard and the type of material being used.
Key Considerations for Size Selection
When choosing brad nails for your baseboard project, consider the following:
- Material Thickness: Thicker baseboards require longer nails to ensure proper penetration into the wall stud.
- Material Type: Hardwoods may require slightly longer nails to prevent splitting, while softer woods can use shorter nails.
- Surface Finish: If the baseboard has a delicate finish, opt for brad nails with a finer gauge to minimize surface damage.
Factors to Consider When Selecting Brad Nails
Beyond size, several other factors influence the effectiveness of brad nails in baseboard installation. Here's a closer look at what you should consider:
Gauge of the Nail
The gauge of a brad nail refers to its thickness. Common gauges range from 18 to 23, with lower numbers indicating thicker nails. For most baseboard installations, 18-gauge brad nails strike a balance between strength and delicacy.
Read also:Discover The Magic Of Phoenix Mugs Your Ultimate Guide To Unique Drinkware
Nail Length
Nail length is measured in inches. For standard baseboards, 1-inch brad nails are often recommended. However, if your baseboards are thicker or made from denser materials, you may need to opt for 1.25-inch or 1.5-inch nails.
Head Type
Brad nails come in various head types, including no-head, brad head, and finish head. For baseboards, no-head or brad head nails are preferred as they sink flush into the wood, reducing the need for additional finishing work.
Recommended Sizes of Brad Nails for Baseboards
Based on industry standards and expert recommendations, here are the most commonly used sizes for baseboard installation:
- 18-Gauge, 1-Inch: Ideal for standard baseboards made from softwoods.
- 18-Gauge, 1.25-Inch: Suitable for thicker or hardwood baseboards.
- 16-Gauge, 1.5-Inch: Recommended for very thick or heavy-duty baseboards.
Installation Tips for Baseboards
Proper installation is just as important as selecting the right size of brad nails. Follow these tips to ensure a smooth and professional installation:
Preparation
Before starting, make sure the surface is clean and free of debris. Use a level to ensure the baseboards are installed straight and even.
Nailing Technique
Space the nails evenly along the baseboard, ensuring they penetrate the wall stud. Avoid overdriving the nails, as this can cause the wood to split or the nail to become visible.
Finishing Touches
After installation, inspect the baseboards for any visible nail holes. Use wood filler to cover these holes and sand them smooth before applying paint or varnish.
Common Mistakes to Avoid
Mistakes during installation can compromise the durability and appearance of your baseboards. Here are some common errors to avoid:
- Using Incorrect Nail Size: This can lead to loose or damaged baseboards.
- Overdriving Nails: This can cause splitting or visible nail heads.
- Skipping Pre-Installation Checks: Failing to ensure the surface is level and clean can result in uneven installation.
Troubleshooting Common Issues
Even with careful preparation, issues can arise during baseboard installation. Here's how to address some common problems:
Loose Baseboards
If the baseboards feel loose after installation, check that the nails have penetrated the wall stud. If not, remove the baseboard and reattach it with longer nails.
Visible Nail Holes
Use wood filler to cover any visible nail holes. Allow the filler to dry completely before sanding and painting.
Comparison of Brad Nails vs. Finish Nails
While brad nails are ideal for baseboard installation, finish nails are another popular option. Below is a comparison of the two:
Brad Nails
- Smaller diameter and lighter weight.
- Less likely to split wood.
- Best for delicate or thin materials.
Finish Nails
- Thicker and stronger.
- More suitable for heavier materials.
- May require additional finishing work to hide nail heads.
Tools Required for Baseboard Installation
To successfully install baseboards with brad nails, you'll need the following tools:
- Pneumatic brad nailer.
- Air compressor (if the nailer is not cordless).
- Miter saw for cutting baseboards to size.
- Level to ensure straight installation.
- Wood filler and sandpaper for finishing touches.
Frequently Asked Questions
Q: Can I use brad nails for all types of baseboards?
A: While brad nails are suitable for most baseboard installations, very thick or heavy-duty baseboards may require finish nails or screws for added strength.
Q: How deep should brad nails be driven into the baseboard?
A: Brad nails should be driven just deep enough to penetrate the wall stud without splitting the wood. Avoid overdriving, as this can damage the surface.
Q: What gauge brad nails are best for baseboards?
A: For most baseboard installations, 18-gauge brad nails provide the right balance of strength and delicacy.
Conclusion
Choosing the right size brad nails for baseboards is essential for achieving a secure and professional installation. By considering factors such as material thickness, gauge, and nail length, you can select the perfect nails for your project. Remember to follow proper installation techniques and avoid common mistakes to ensure a flawless finish.
We encourage you to share your thoughts and experiences in the comments below. Have you encountered any challenges with baseboard installation? What tips would you add to this guide? Don't forget to explore our other articles for more helpful tips and tricks on home improvement projects.